Sharing your Wi-Fi with guests is a common courtesy, but doing so without proper precautions can expose your home network to security risks. By configuring the built-in Guest Network feature on your router, you can provide internet access to guests while keeping your main network and connected devices secure. This guide will explain why guest network isolation is important and provide a step-by-step procedure to set it up.
Why Isolating Guest Connections is Important
- Enhanced Security: A guest network keeps visitors from accessing devices on your primary network, such as computers, smart home devices, or storage systems.
- Bandwidth Management: Some routers allow you to limit bandwidth on guest networks, ensuring your main network isn’t slowed down by heavy guest usage.
- Reduced Malware Risk: If a guest’s device is infected with malware, it cannot spread to devices on your primary network when using an isolated guest network.
- Privacy Protection: Isolating guests ensures they cannot inadvertently or intentionally access private files or network resources.
Step-by-Step Guide to Configure a Guest Network
Step 1: Access Your Router’s Settings
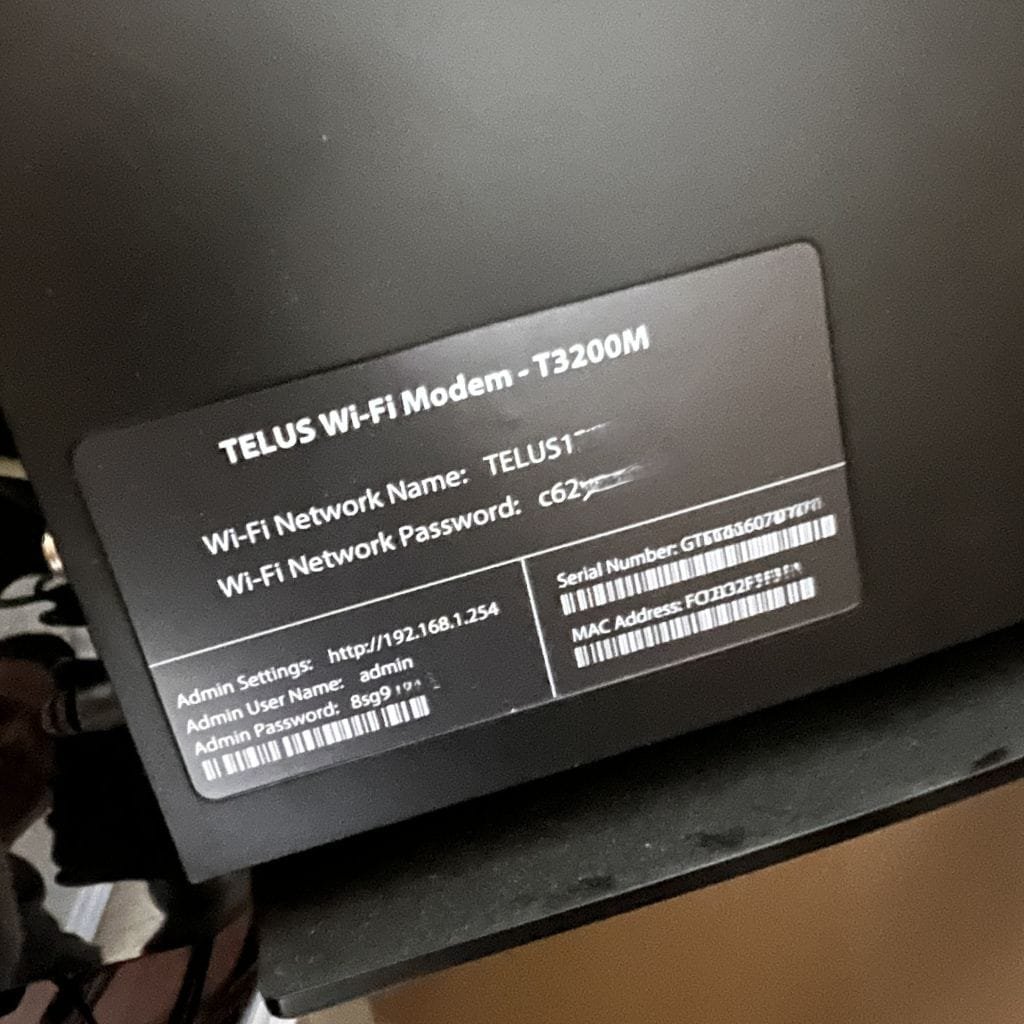
- Open a web browser and type your router’s IP address into the address bar (commonly
192.168.1.1or192.168.0.1or even192.168.1.254as in the photo below). - Log in with your router’s admin credentials. These are often printed on a label on the router or found in the user manual. If you’ve changed them previously, use your updated login credentials.
Step 2: Locate the Guest Network Settings
- Once logged in, navigate to the Wireless or Guest Network section of the router’s settings.
- Look for a tab or option labeled “Guest Network” or similar.
Step 3: Enable the Guest Network
- Toggle the Enable Guest Network option to “On” or “Enable.”
- Assign a network name (SSID) for your guest network. For example, “[YourName]_Guest.”
- Set a password using WPA3 or WPA2 encryption to ensure secure access. Avoid using the same password as your primary network.
Step 4: Configure Isolation Settings
- Look for a setting like Access Intranet, Allow Guest to See Local Network, or Client Isolation.
- Ensure these options are disabled or set to “On” to restrict guest access to only the internet and prevent them from communicating with devices on your primary network.
Step 5: Set Bandwidth Limits (Optional)
- Some routers allow bandwidth control for guest networks. If available, configure limits to prevent guests from consuming excessive bandwidth.
Step 6: Save and Test
- Save your changes and reboot the router if necessary.
- Connect a device to the guest network and verify:
- Internet access is working.
- Devices on the primary network (e.g., printers, smart TVs) are inaccessible.
Additional Tips
- Regular Updates: Keep your router firmware updated to ensure the latest security features and fixes are applied.
- Separate Devices: Consider connecting IoT devices to the guest network if your router supports multiple SSIDs.
- Monitor Usage: Periodically check for unfamiliar devices connected to your networks.
By following these steps, you can ensure a safe and efficient way to share your Wi-Fi with guests without compromising your home network’s security and privacy.
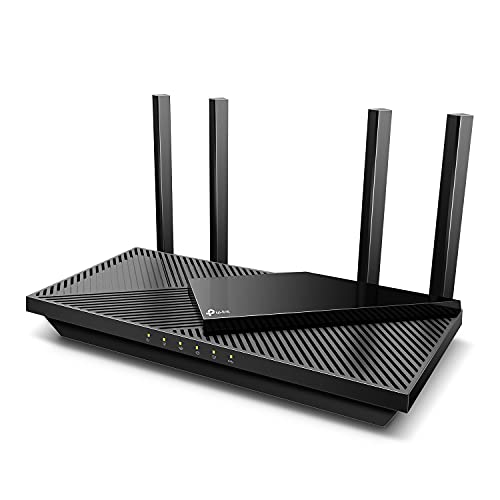
- Next-Gen Gigabit Wi-Fi 6 Speeds: 2402 Mbps on 5 GHz and 574 Mbps on 2.4 GHz bands ensure smoother streaming and faster d…
- A More Responsive Experience: Enjoy smooth gaming, video streaming, and live feeds simultaneously. OFDMA makes your Wi-F…
- Expanded Wi-Fi Coverage: 4 high-gain external antennas and Beamforming technology combine to extend strong, reliable, Wi…