Installing a smart doorbell is like giving your front door a digital upgrade. Not only can you see who’s knocking (even when you’re not home), but you can also talk to visitors, get alerts for suspicious activity, and enhance your home’s security. In this blog, we’ll walk you through the steps of setting up a smart doorbell, making the process simple and even a little fun!
Step 1: Pick the Right Smart Doorbell
Before you start, it’s important to choose the right smart doorbell for your needs. Here are two popular options:
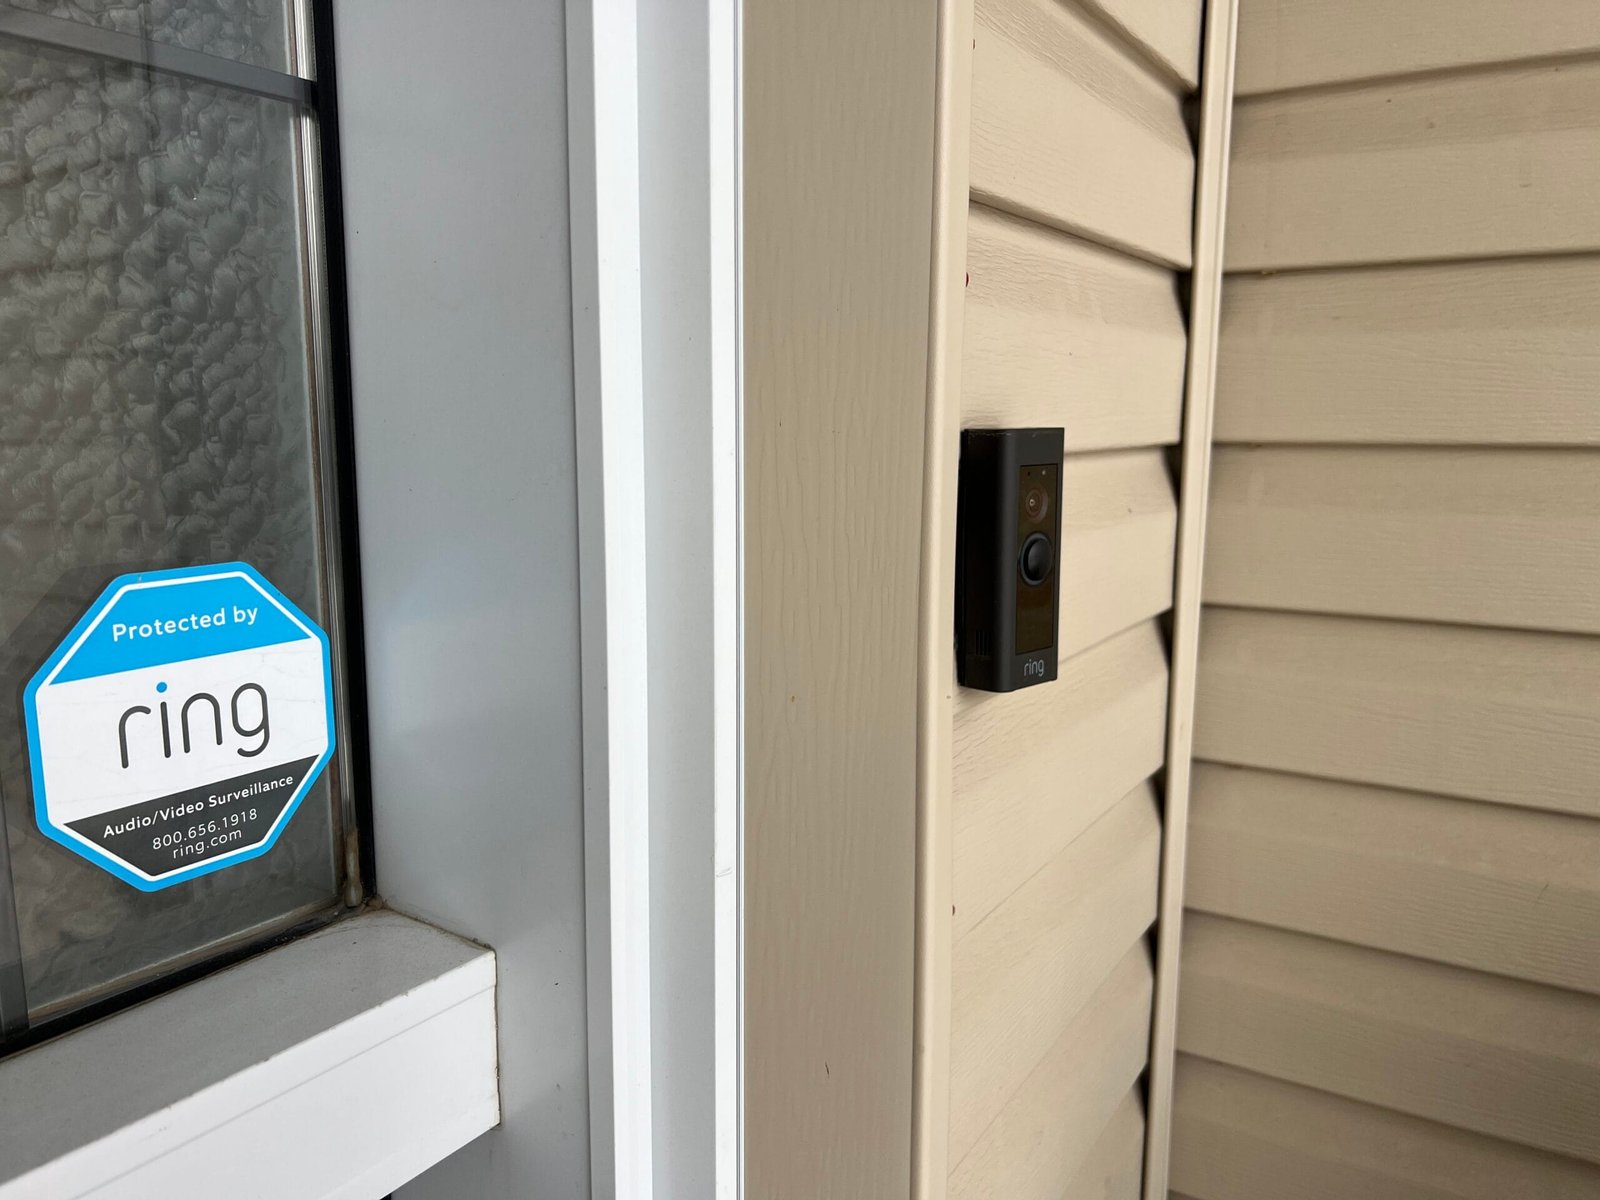
- Ring Video Doorbell (Read our review of Ring Wired Doorbell Pro here)
- Google Nest Hello
Both doorbells offer HD video, two-way audio, and motion detection. They also allow you to see, hear, and speak to anyone at your door via a mobile app.
“Choose a smart doorbell that fits your style and needs, and if wired or battery powered”
Step 2: Turn Off the Power to Your Existing Doorbell
Safety first! If you’re replacing an old doorbell, you need to turn off the power. Head to your home’s circuit breaker and flip the switch for your doorbell system.
Tip: Ring or test your existing doorbell to confirm the power is off.

“Always turn off the power to avoid any electrical mishaps.”
Step 3: Remove the Old Doorbell
Once the power is off, unscrew your old doorbell from the wall and disconnect the wires. If you’re upgrading from a regular doorbell, don’t worry — the smart doorbell setup is just as simple.
Step 4: Install the Mounting Bracket
Next, grab your new smart doorbell and the mounting bracket that came with it. Hold the bracket up where your old doorbell was and mark the screw holes. Use a drill to attach the bracket securely to the wall.
Tip: Most smart doorbells come with a level tool to help you install it straight. Use it!
Step 5: Connect the Wires
Now, it’s time to connect the wires. Your old doorbell should have two wires sticking out. Simply attach them to the terminals on the back of your smart doorbell.
Tip: Don’t worry about which wire goes where; most smart doorbells work regardless of the wire arrangement.
Step 6: Attach the Smart Doorbell
Once the wires are connected, snap the smart doorbell onto the mounting bracket. It should fit snugly into place, and you’ll usually hear a click when it’s secure.
Step 7: Restore Power
Head back to your circuit breaker and flip the switch to restore power to your doorbell system. Your new smart doorbell should light up, signaling that it’s ready to be set up!
Step 8: Set Up the Doorbell in the App
Now for the tech magic. Download the app that corresponds with your doorbell:
- Ring Video Doorbell: Download the Ring app.
- Nest Hello Doorbell: Download the Google Home app.
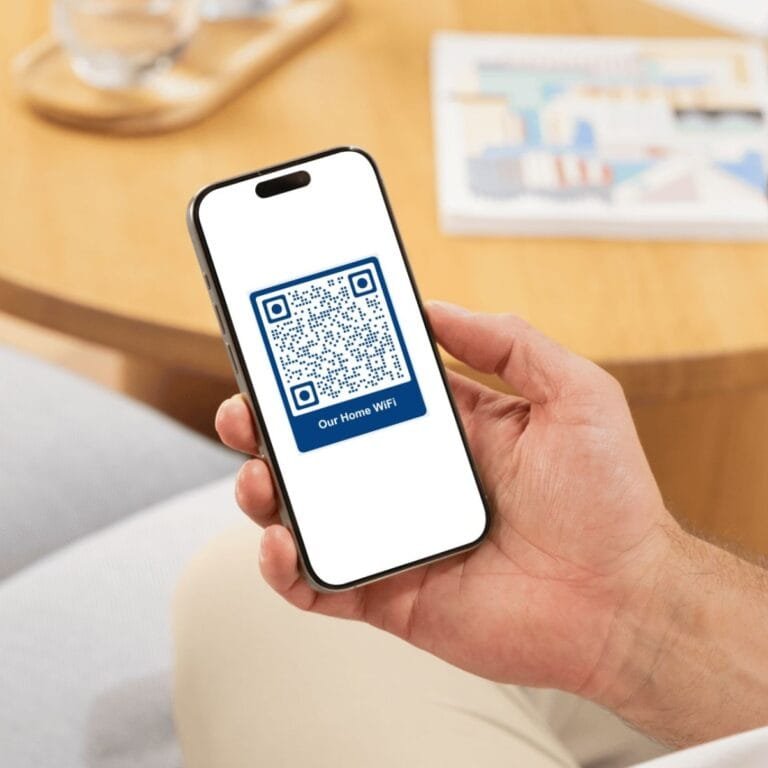
Open the app and follow the setup instructions. You’ll connect your doorbell to your home’s Wi-Fi and sync it to your smartphone so you can get real-time notifications.

“Download the app to connect your doorbell to your phone and Wi-Fi.”
Step 9: Customize Motion Detection
One of the best features of a smart doorbell is its motion detection. Most smart doorbells allow you to customize the sensitivity, so you only get alerts when it matters (like when someone approaches the door, not when a car drives by).
Tip: If you live on a busy street, lower the sensitivity to avoid constant notifications.
Step 10: Explore Two-Way Audio and Video Features
Your smart doorbell is not just about seeing who’s at your door — it’s also about interacting with them. The two-way audio feature lets you talk to delivery people, visitors, or even scare off porch pirates when you’re not home.
Tip: Try saying, “Leave the package by the door, please!” when you’re out and about.
Step 11: Integrate with Other Smart Devices
If you have other smart home devices like security cameras or smart locks, you can integrate them with your doorbell. For example, you can set up an automation where your smart lights turn on when motion is detected, or unlock the door for trusted guests.
Step 12: Monitor and Review Footage
Your smart doorbell records video whenever it detects motion. Depending on your device, you can access live footage or view saved recordings in the app. Many smart doorbells offer cloud storage plans, so you can go back and review footage if necessary.
Final Thoughts: Your Front Door, Smarter Than Ever!
With your new smart doorbell installed and configured, you’ve just added an extra layer of security and convenience to your home. You can now see who’s at your door, talk to visitors remotely, and get motion alerts all from your smartphone.
Installing a smart doorbell is an easy way to protect your home and stay connected to what’s happening at your front door, no matter where you are. Stay safe, stay smart, and enjoy your new tech upgrade!
- See more — Get 66% more vertical coverage with the latest version of Ring’s best-selling Video Doorbell (2nd Gen), now f…
- Built-In Battery — Battery Doorbell includes a built-in battery, which charges with a convenient USB-C charging port. To…
- Install in a Snap — Charge it up, click into place, and stay connected right from your phone.
- The Nest Doorbell has built-in intelligence and can tell the difference between a person, package, animal, and vehicles …
- Easily check in from anywhere 24/7 with live HD video with HDR and night vision[1]; see what you missed with 3 hours of …
- If your Wi-Fi goes down or there’s a power outage, the Nest Doorbell will store up to 1 hour of recorded events so you c…
- Reliable Indoor & Outdoor Video Doorbell Wired/Wireless: Watch, listen and talk. Monitor your home, property and keep yo…
- Arlo protects your everything. Including your privacy: At Arlo, we are as passionate about privacy as we are about safeg…
- Don’t miss a moment with the Arlo App: Get real-time notifications with motion activation & live video streaming in the …


I?¦m not certain where you are getting your info, however great topic. I must spend a while studying more or figuring out more. Thanks for excellent information I used to be on the lookout for this info for my mission.
Thank you for taking the time to share your thoughts! I really appreciate your feedback and hope you found the content helpful.