Imagine walking into a room and the lights automatically turn on, or having your lights gradually dim when it’s bedtime. With smart lighting, you can do all this and more! In this guide, we’ll show you how to set up and automate your smart lighting system, so your home can practically run itself. Let’s dive into the world of smart lights and make your life easier, one bulb at a time.
Step 1: Pick the Right Smart Lighting System
Before you begin, choose a smart lighting system that fits your needs. Here are some popular options:
- Philips Hue – A leader in smart bulbs with a range of colors and white light.
- LIFX – Known for vibrant colors and no need for a separate hub.
- TP-Link Kasa – Affordable and easy to use, great for beginners.


“Choose from a variety of smart lighting options to match your style and needs.”

Step 2: Install Your Smart Bulbs
Now that you’ve picked your system, it’s time to install your smart bulbs. Here’s how to do it:
- Screw in your smart bulb like you would any regular bulb.
- Turn on the light switch to power up the bulb.
- Download the app that corresponds to your smart bulb (e.g., Philips Hue, LIFX, or Kasa).
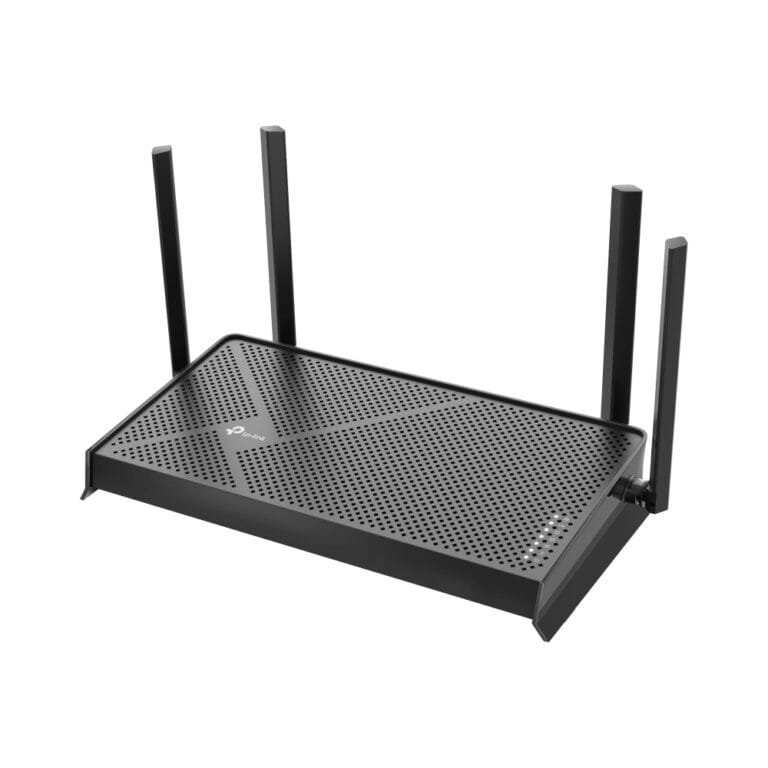
Tip: If your lights require a hub, like the Philips Hue, plug in the hub and connect it to your Wi-Fi router.
Step 3: Connect to Wi-Fi and Set Up in the App
Once the bulbs are installed, open the app and follow the setup instructions:
- Connect the bulbs to your Wi-Fi network.
- Name your lights (e.g., “Living Room Lamp” or “Bedroom Ceiling Light”).
- Group lights together if needed, like grouping all the living room lights into one control.

A smartphone screen showing the apps used to setup and manage smart lights.
- Set up your lights in the app so you can control them from your phone.
- Here’s a video from Gauging Gadgets for setting up a Kasa device in detail.
Step 4: Set Up Voice Control
One of the coolest things about smart lighting is controlling your lights with your voice. Whether you have Amazon Alexa, Google Assistant, or Apple HomeKit, setting up voice commands is super easy:
- Open your voice assistant’s app (Alexa, Google Home, or Apple Home).
- Link your smart lighting system.
- Start using commands like, “Alexa, turn off the bedroom light” or “Hey Google, dim the living room lights to 50%.”

“Control your lights with simple voice commands for hands-free convenience.”
Step 5: Create Lighting Schedules
Want your lights to turn on automatically in the morning or shut off when you leave for work? You can create schedules in the app to make it happen:
- Go to the Schedules section of your smart lighting app.
- Set times for when you want specific lights to turn on or off.
- You can even schedule them to gradually brighten in the morning, acting as a gentle wake-up light.
Tip: Sync your lights with sunrise and sunset times for a natural lighting effect throughout the day.
Step 6: Create Scenes for Special Moods
Smart lighting allows you to set up “scenes” to create specific moods with just a tap. For example:
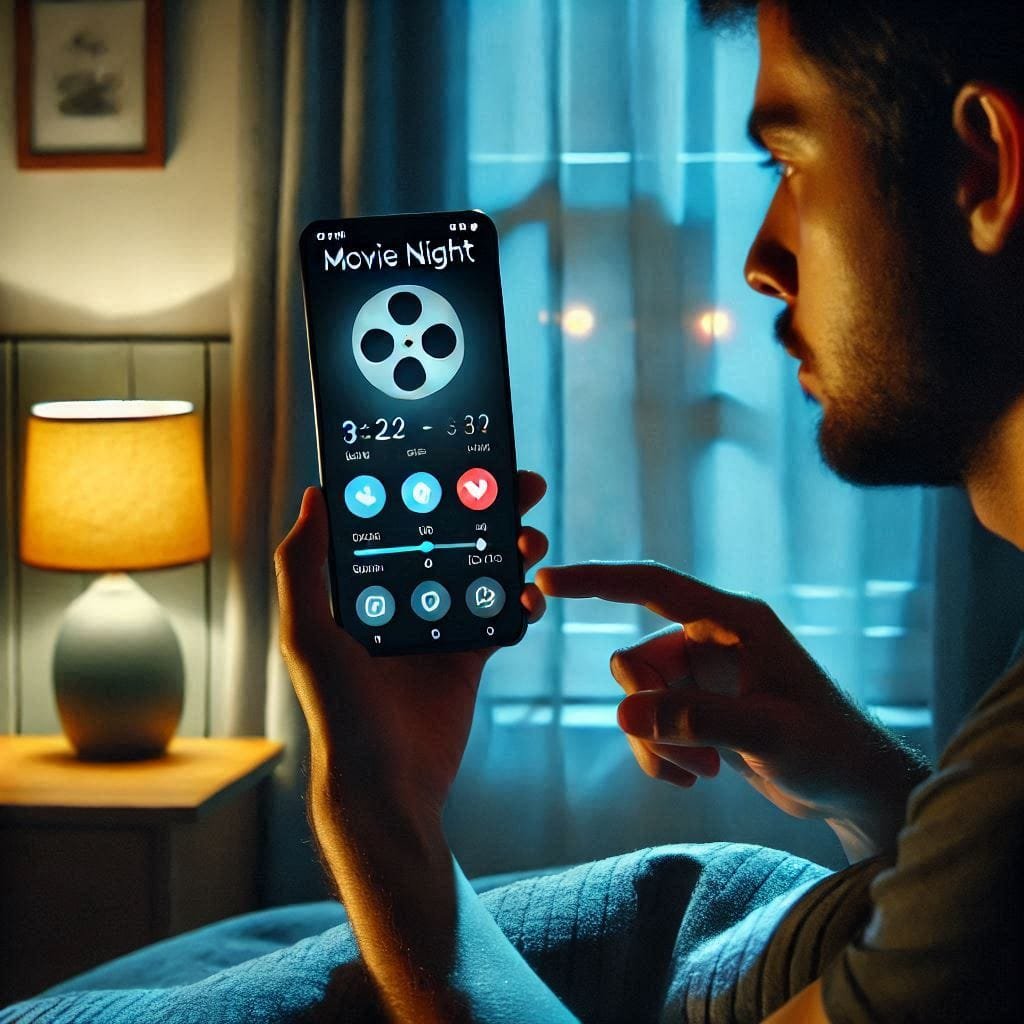
- Movie Night Scene: Dim the lights to 20% for a cozy movie vibe.
- Party Scene: Set your lights to colorful modes and sync them with your music (some bulbs can even pulse to the beat!).
- Reading Scene: Adjust the brightness to 80% and set the light to a warmer tone for comfortable reading.

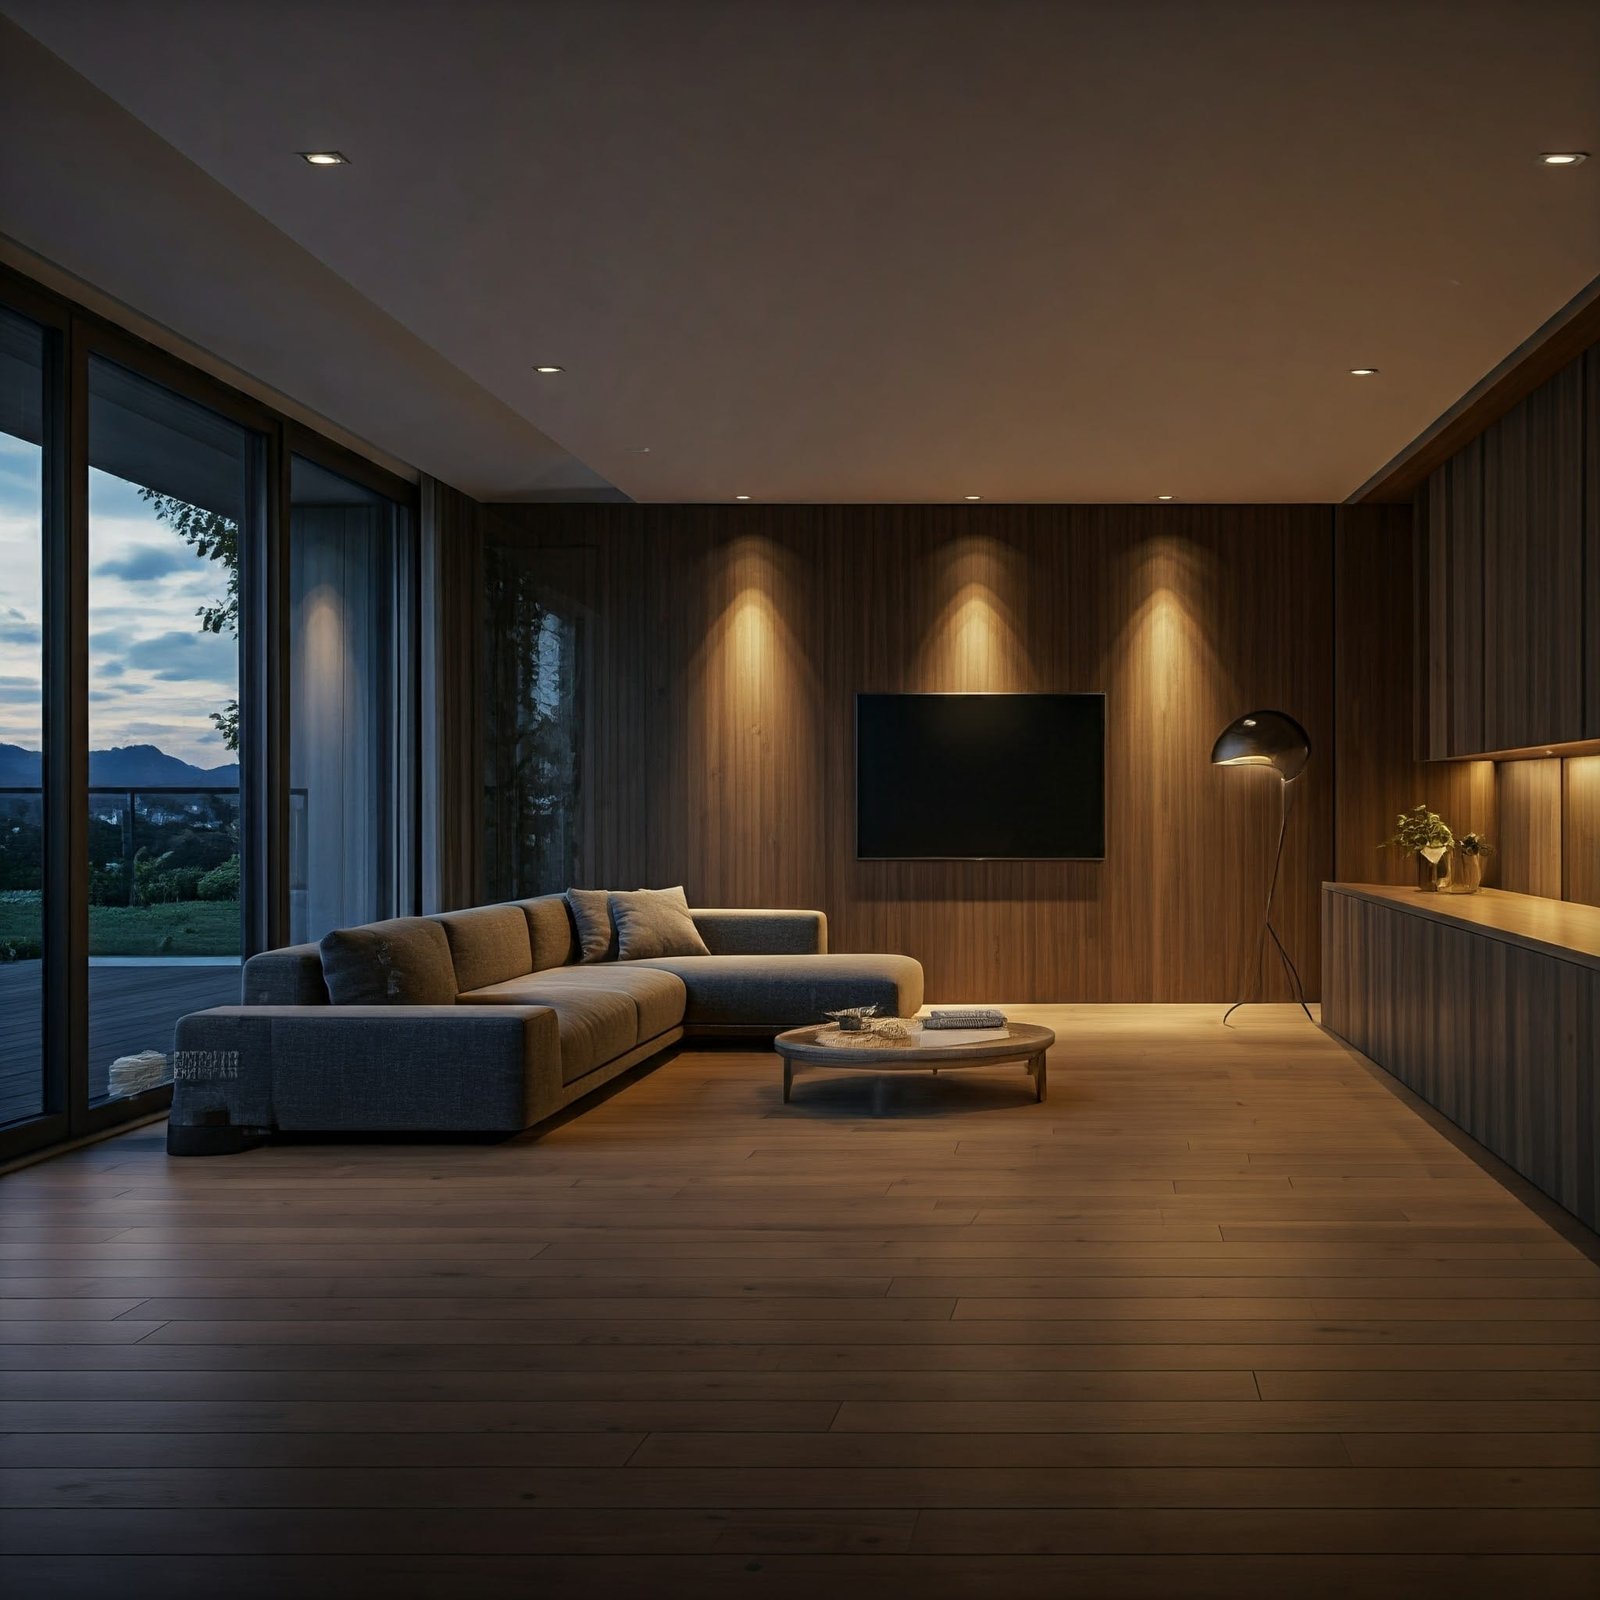
“Set the perfect mood with scenes that match any occasion.”
Step 7: Use Motion Sensors for Hands-Free Lighting
Motion sensors make your smart lights even smarter. With motion sensors, your lights will automatically turn on when you enter a room and turn off after a set time of no movement:
- Place motion sensors in key areas like hallways, bathrooms, or closets.
- In the app, link the motion sensor to the corresponding lights.
- Set a delay time for the lights to turn off after no movement is detected (e.g., 1 minute, 5 minutes, etc.).
Image Placeholder 7: A motion sensor installed near a hallway light.

“Motion sensors help automate your lights even further, perfect for those high-traffic areas.”
Step 8: Use Geofencing for Automatic Lighting
Geofencing is a feature that uses your phone’s location to automatically turn lights on or off when you enter or leave your home. Here’s how to set it up:
- Go to your smart lighting app’s Geofencing section.
- Set a perimeter around your home.
- Choose what happens when you enter or leave the perimeter (e.g., lights turn on when you come home, or turn off when you leave).

- Description: “Use geofencing so your lights know when you’re home or away — no more leaving the lights on by accident!”
Step 9: Monitor Energy Usage
Smart lighting systems often come with energy-monitoring features that show you how much power you’re using. This helps you see how much you’re saving by using energy-efficient smart bulbs:
- Open the app’s energy section (if available).
- Track your daily or monthly energy consumption.
- Adjust your usage or schedules to save even more energy.

“Keep an eye on your energy usage and adjust settings to save even more.”
Final Thoughts: Bright Ideas for a Smarter Home
Automating your smart lighting system not only makes your life easier but also helps save energy and money in the long run. From setting up schedules to creating moods for any occasion, smart lighting gives you full control over your home’s atmosphere with just a few taps or a voice command.
Now that your lights are smart, you can enjoy the perfect lighting setup without ever having to touch a switch again. Let there be light — the smart way!


Hi there would you mind stating which blog platform you’re working with? I’m planning to start my own blog in the near future but I’m having a tough time selecting between BlogEngine/Wordpress/B2evolution and Drupal. The reason I ask is because your layout seems different then most blogs and I’m looking for something completely unique. P.S Sorry for getting off-topic but I had to ask!
Hi there! I’m using a heavily tweaked WordPress setup to achieve this unique layout. It’s easy to work with, super customizable and great for flexibility. Best of luck with your blog!